
 "And God blessed them. And God said to them, 'Be fruitful and multiply and fill the earth and subdue it, and have dominion over the fish of the sea and over the birds of the heavens and over every living thing that moves on the earth.'" (Gen 1:28)
From creation God has given man a mandate to subdue the earth, or as I like to say to "Edenize" the world. Adam's first job was to be a gardener and to expand God's garden kingdom through procreation and subduing the world around him. We know that the first Adam failed to fully fulfill this mandate as he failed to have dominion over the serpent. However, this dominion mandate is repeated throughout all of the covenants of the bible and has never been repealed only expanded culminating in Christ's great commission (Matt 28:18-20).
Now a second Adam has come, and during His garden trial (John 18:1) He was victorious and He emerged from the tomb as the new Gardener (John 20:15). Thus we see all of history ending with the original plan laid out at the beginning being fulfilled as the New Jerusalem garden city comes down out of heaven.
With that said there is satisfaction gleaned from exercising dominion over our spheres however great or small they may be, so essentially this is a biblical rationale for being thrilled about gardening, chicken rearing, beer making, or bee keeping etc.
So I thought this being the first post in what will undoubtedly be a series to start at the beginning, the egg. We recently found some rare dark egg laying chickens (Black Copper Marans) with pedigree right here in SC, and upon purchasing a number of the chicks the guy threw in 4 eggs that were blue Americauna eggs with Maran rooster fathers. I decided to try my hand at hatching them and set about making an incubator.
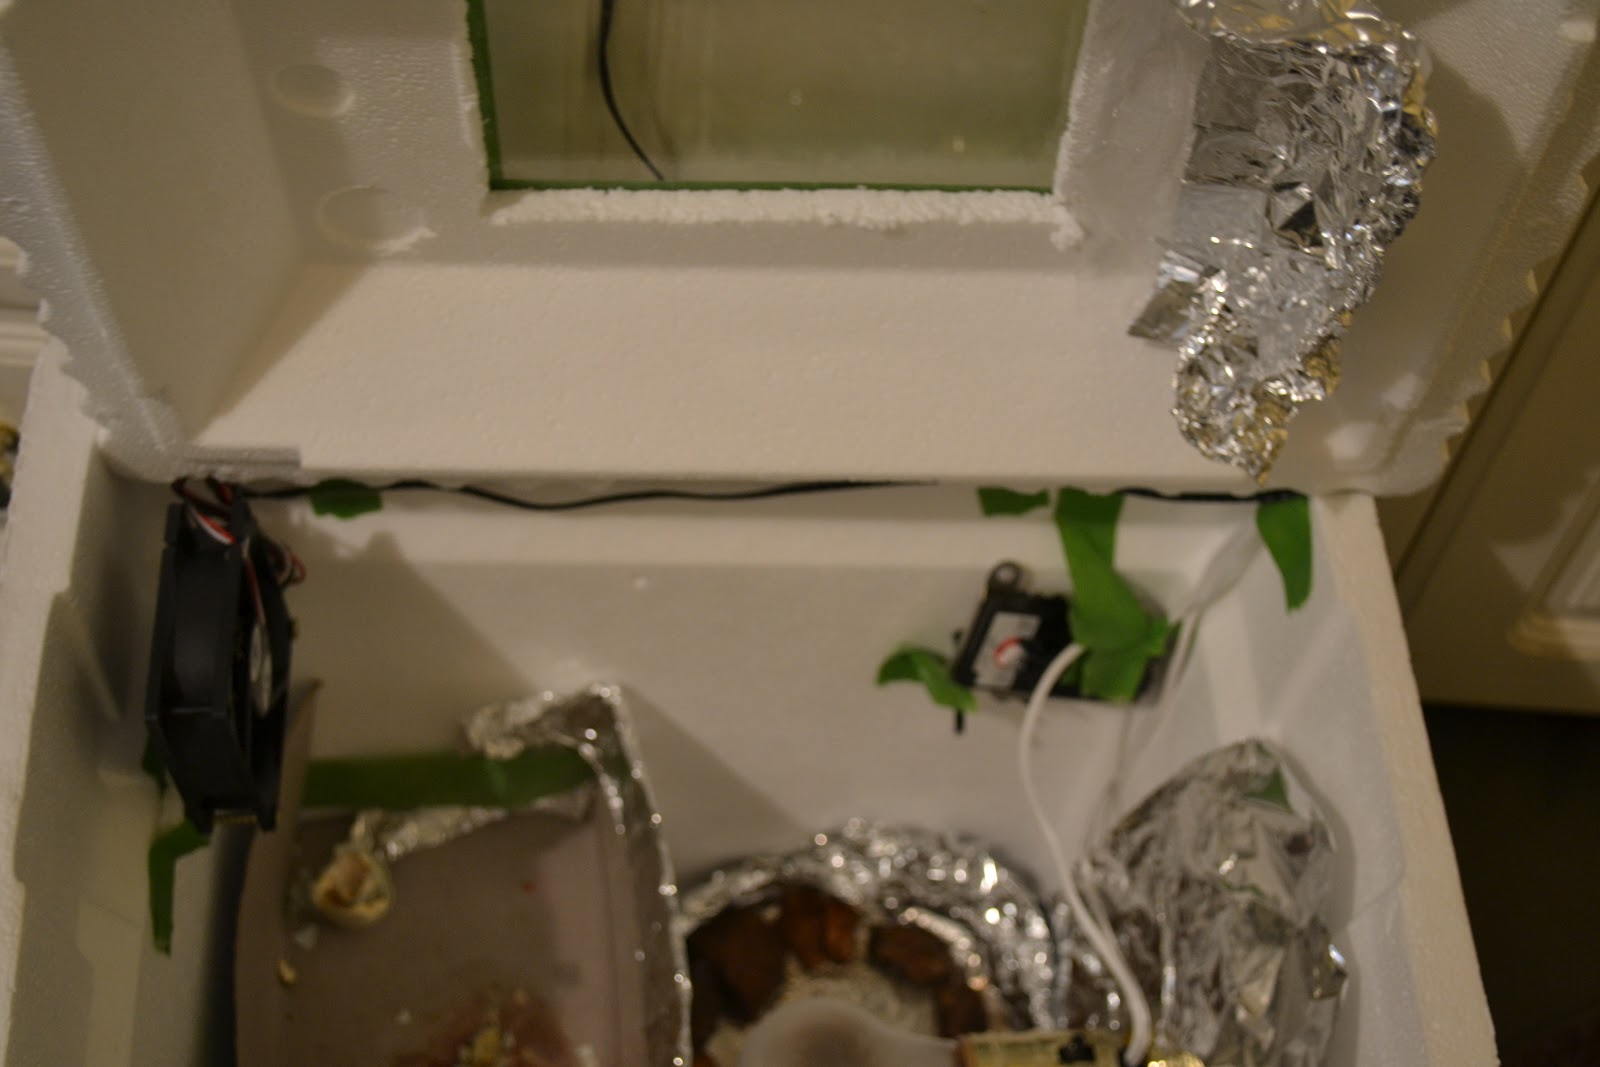 | ||
| The inside of the incubator post-hatch |
The temperature regulator will click the power on and off based upon the temperature in the incubator and it is attached to the lamp's power cord. I then hooked up an old power cord from a modem we no longer use to the cpu fan's wires giving the fan power, the fan will keep the humidity and temperature even throughout the incubator. I then lined the walls where the light would be with foil and placed the fan, lamp and temperature regulator. Given that the incubator is styrofoam this was really easy and few tools were required.
The temperature for these little guys ideally should be in the 99-100 range and the humidity around 60% and when they start "peeping" (poking out of the eggs) you want the humidity really high like 90% to keep the egg membranes from drying out once exposed. The humidity set up I made was a little dish with rocks and a reservoir under the light which can be filled when turning the eggs (2-3 times a day).

At any rate these little guys take about 21 days to develop and hatch, of the 4 eggs we got we had a 100% hatch rate. Unfortunately, one of the chicks did die after hatching and in hindsight I think we could have pulled him out of the incubator sooner I don't think he could handle the humidity. All in all it was a satisfying experience and we are doing it again now with some eggs we ordered from someone on Ebay.


No comments:
Post a Comment